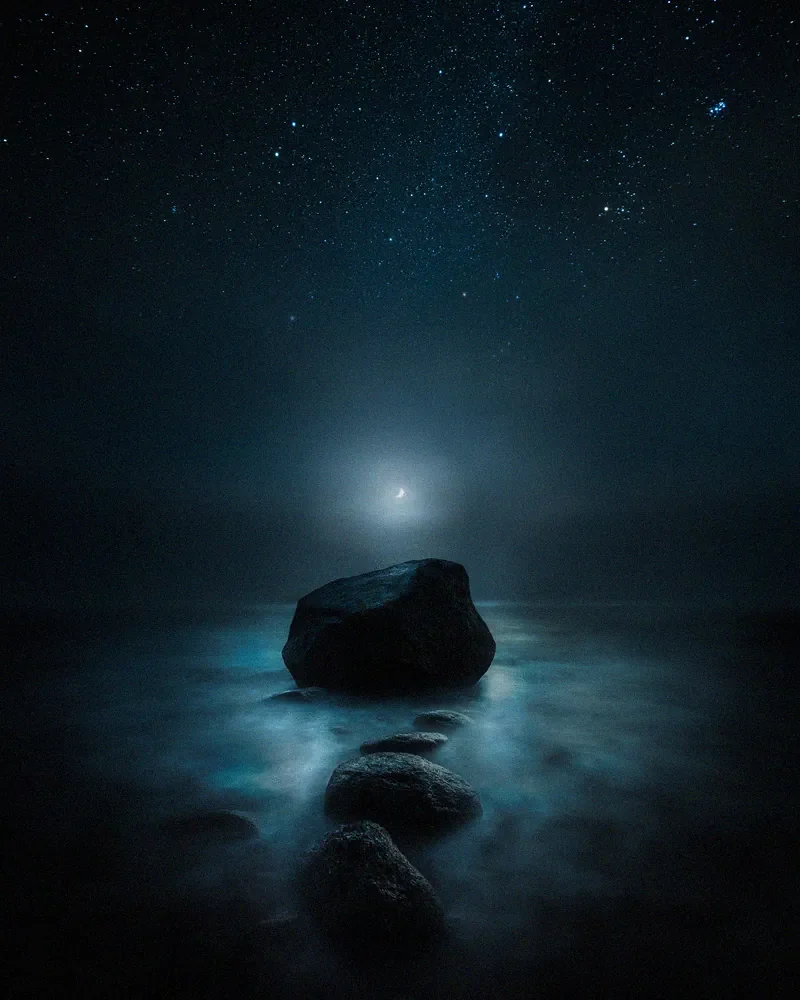
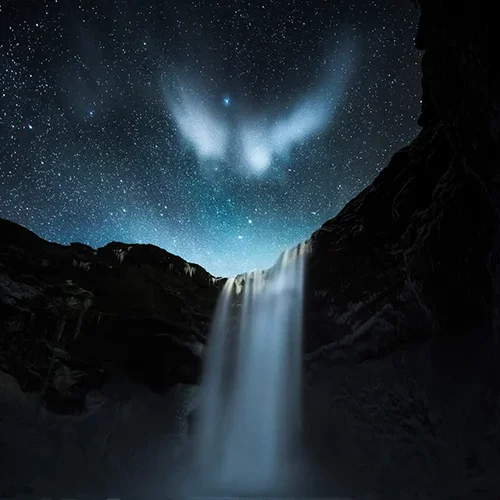
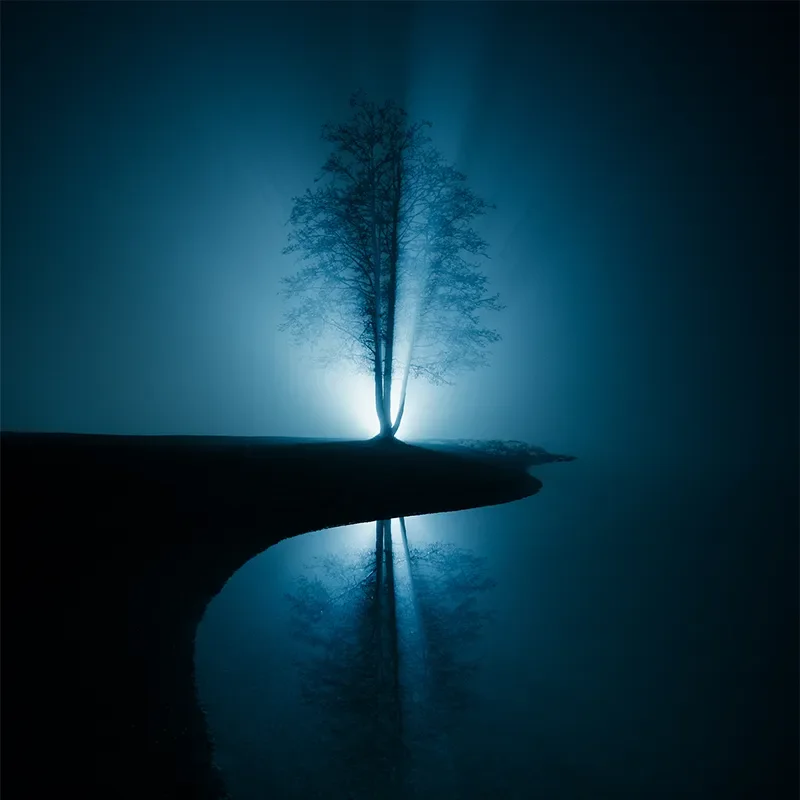
Editing Minimalistic Photography in Lightroom
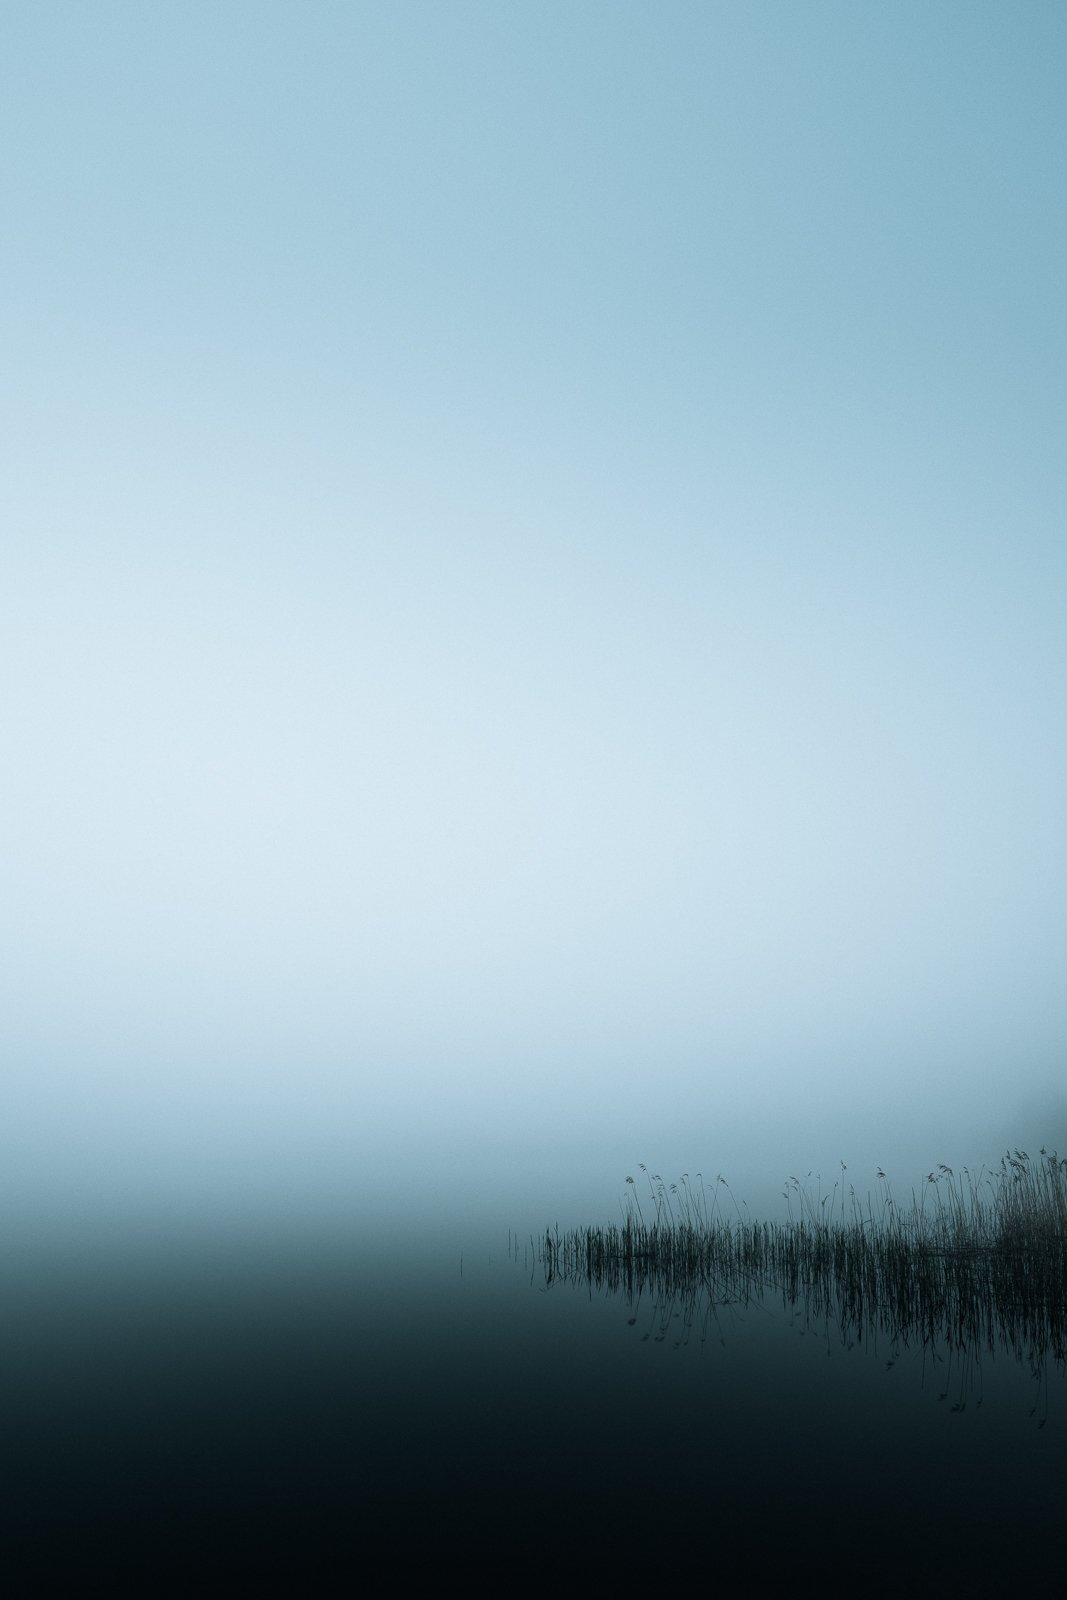
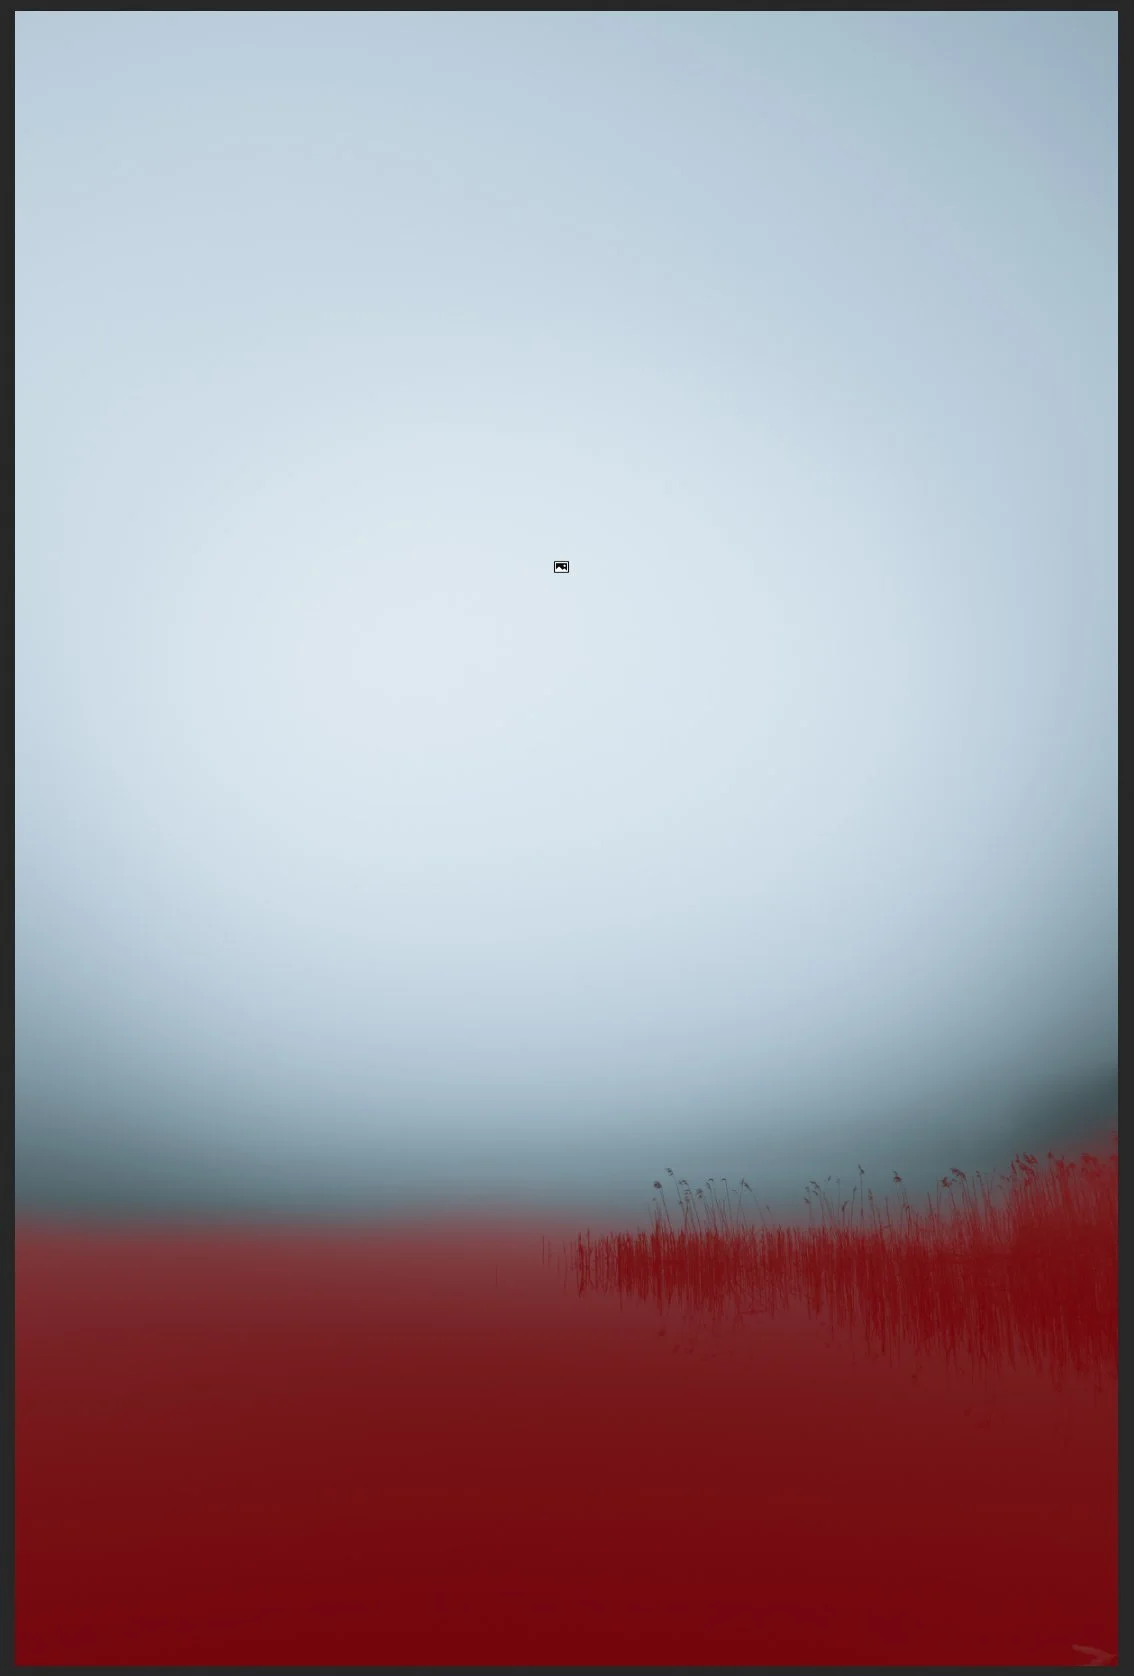
Let's talk about how to edit minimalistic photographs in Lightroom. As you may know, I often use The Epic Preset collection to edit my photography because it saves me time and gives me a style I enjoy. But in this tutorial, I show you how I edit my minimalistic photographs in Lightroom if I don't use my presets. Of course, everything starts with the capture. Here is a tutorial I made about how to capture minimalistic photography.
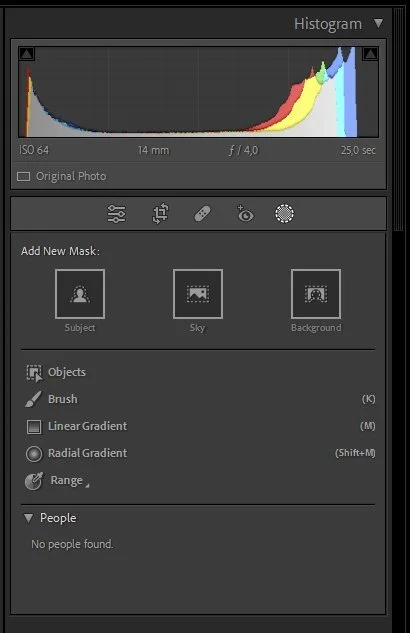
1. settings
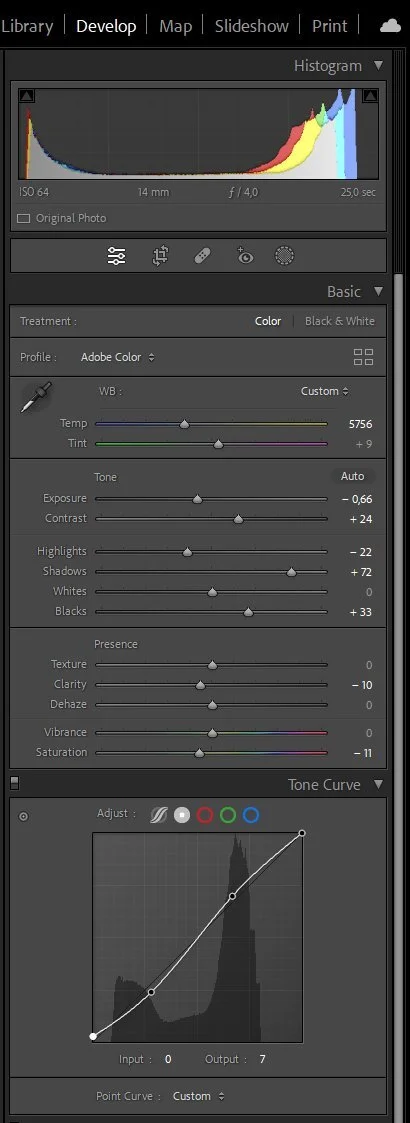
In the Basic panel on the right side of the screen, adjust the White Balance settings to give the photo a cooler, more muted look. To do this, move the Temperature slider to the left to add blue tones and the Tint slider to the right to add green tones.
Adjust the Exposure settings to make the photo less bright and more subdued. To do this, move the Exposure slider to the left to decrease the image's overall brightness.
Play with the Highlights, Contrast, Whites, and Shadows to find a result you enjoy.
In the Tone Curve panel, adjust the Tone Curve to give the photo more contrast. To do this, drag the bottom left point of the curve up slightly to increase the shadows and the top right end of the turn down slightly to decrease the highlights.
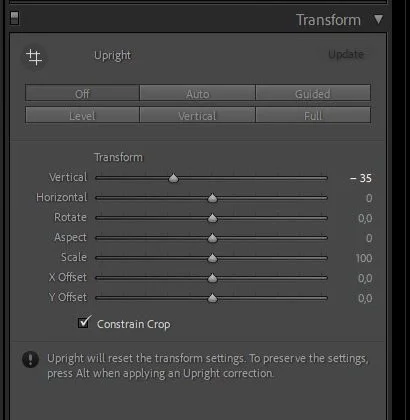
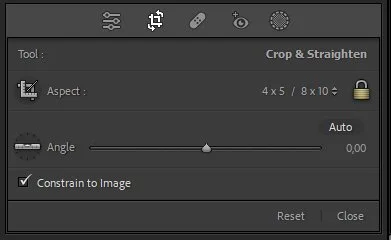
Transform tool. Use the transform tool to straighten your image. This is very important when dealing with a minimalistic photograph. You don’t want your photograph crooked or unappealing lines in your photograph.
2. Specific ADJUSTMENTS
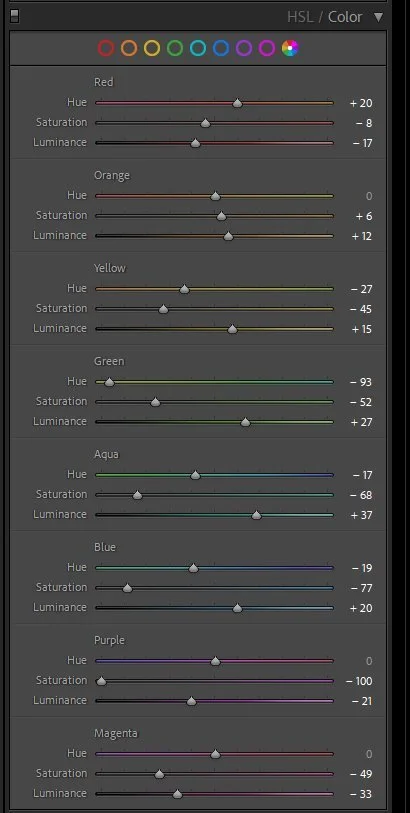
In the HSL/Color/B&W panel, adjust the Saturation settings to desaturate the colors in the photo. To do this, move the Saturation sliders for each color to the left to decrease the amount of that color in the picture. Alternatively, you can use the Targeted Adjustment tool to click on specific areas of the photo and desaturate the colors in those areas.
In the Detail panel, adjust the Sharpening settings to sharpen the details in the photo. To do this, move the Amount slider to the right to increase the amount of sharpening and the Radius slider to the left to apply the sharpening more selectively to the photos' edges.
Finally, in the Effects panel, add a slight vignette to the photo to draw the viewer's attention to the center of the frame. To do this, move the Amount slider to the left to increase the darkness around the photo's edges and the Midpoint slider to the right to make the vignette more subtle.
Remember that these are just general guidelines, and the exact settings will vary depending on the picture you are working with. Experiment with the different settings and see what works best for your particular photo.

3. Masking
To create a more minimalistic photograph using Lightroom, you can use masking. You can use multiple options from the masking panel. Since the Lightroom CC 2022 update, you have automated masks, a brush tool, graduated and radial filters, and a range tool. Each of these tools has a lot of options you can use, but the most important one is the invert option which helps you select the inverted automated mask.
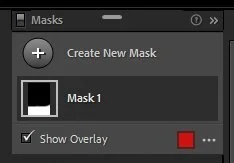
You can use multiple masks and make highly complex selections.
You can also use the following manual masking tools:
Select the Graduated Filter tool from the toolbar on the right side of the screen. This tool allows you to apply a gradient effect to your photo, which can help draw the viewer's attention to a specific area of the image.
To use the graduated filter, click and drag on the part of the image where you want the effect to start. Then, release the mouse button where you want the effect to end. It will create a gradient effect that gradually changes the photo's exposure, contrast, saturation, or other settings.
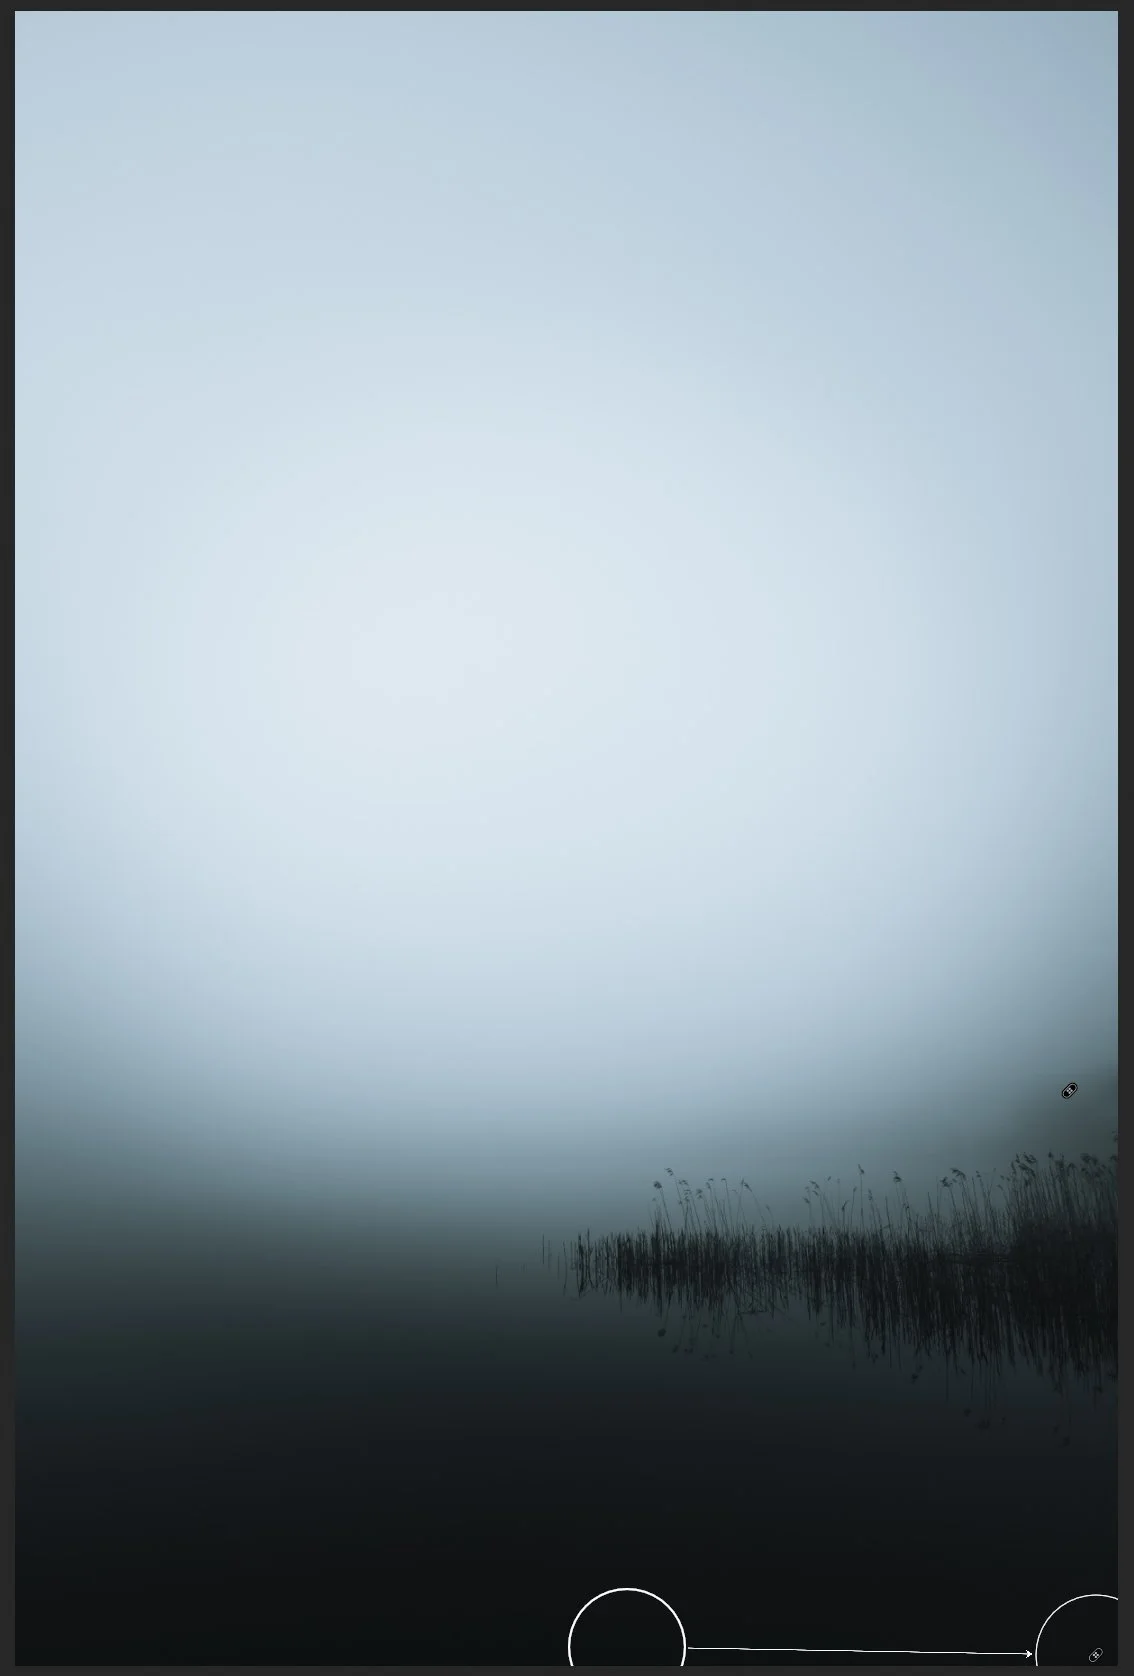
Next, you can use the Radial Filter tool to apply a circular gradient effect to your photo. It can help create a vignette effect or draw attention to a particular image area. To use the radial filter, click and drag on the part of the image where you want the center of the effect to be, and then release the mouse button to set the radius of the effect.
Finally, you can use the brush tool to apply effects to specific areas of the photo selectively. Select the brush tool from the toolbar on the right side of the screen and then adjust the brush settings to control the brush's size, hardness, and other properties. Then, brush over the areas of the photo where you want the effect to be applied.
Using these tools, you can create a more minimalistic photograph by selectively applying adjustments to specific areas of the image. It can help draw the viewer's attention to the essential parts of the photo and create a more cohesive and balanced composition.
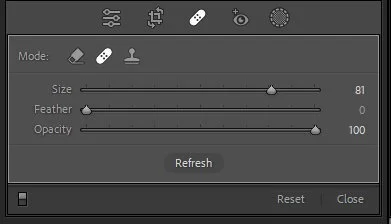
4. REMOVING DISTRACTIONS
One of the most helpful ways to make your photograph more minimalistic is to remove distracting elements. In Lightroom, the healing tool is the tool you can use to get rid of unnecessary elements. This tool allows you to selectively remove unwanted objects from your photo, which can help create a more minimalistic and cohesive composition.
There are three different tools inside the healing panel in the Lightroom CC 2022 version. The Content-Aware Remove, Healing, and Clone tool.
The Content-Aware Remove tool tries to automatically remove selected distractions without suggesting an area to apply with.
The healing tool suggests a replacement for the spot you are trying to remove and uses an algorithm to match the color and light of the applied area.
The clone tool clones an area you want to remove.
Use the cropping and straightening tools to remove distractions and frame the photograph to emphasize the subject.
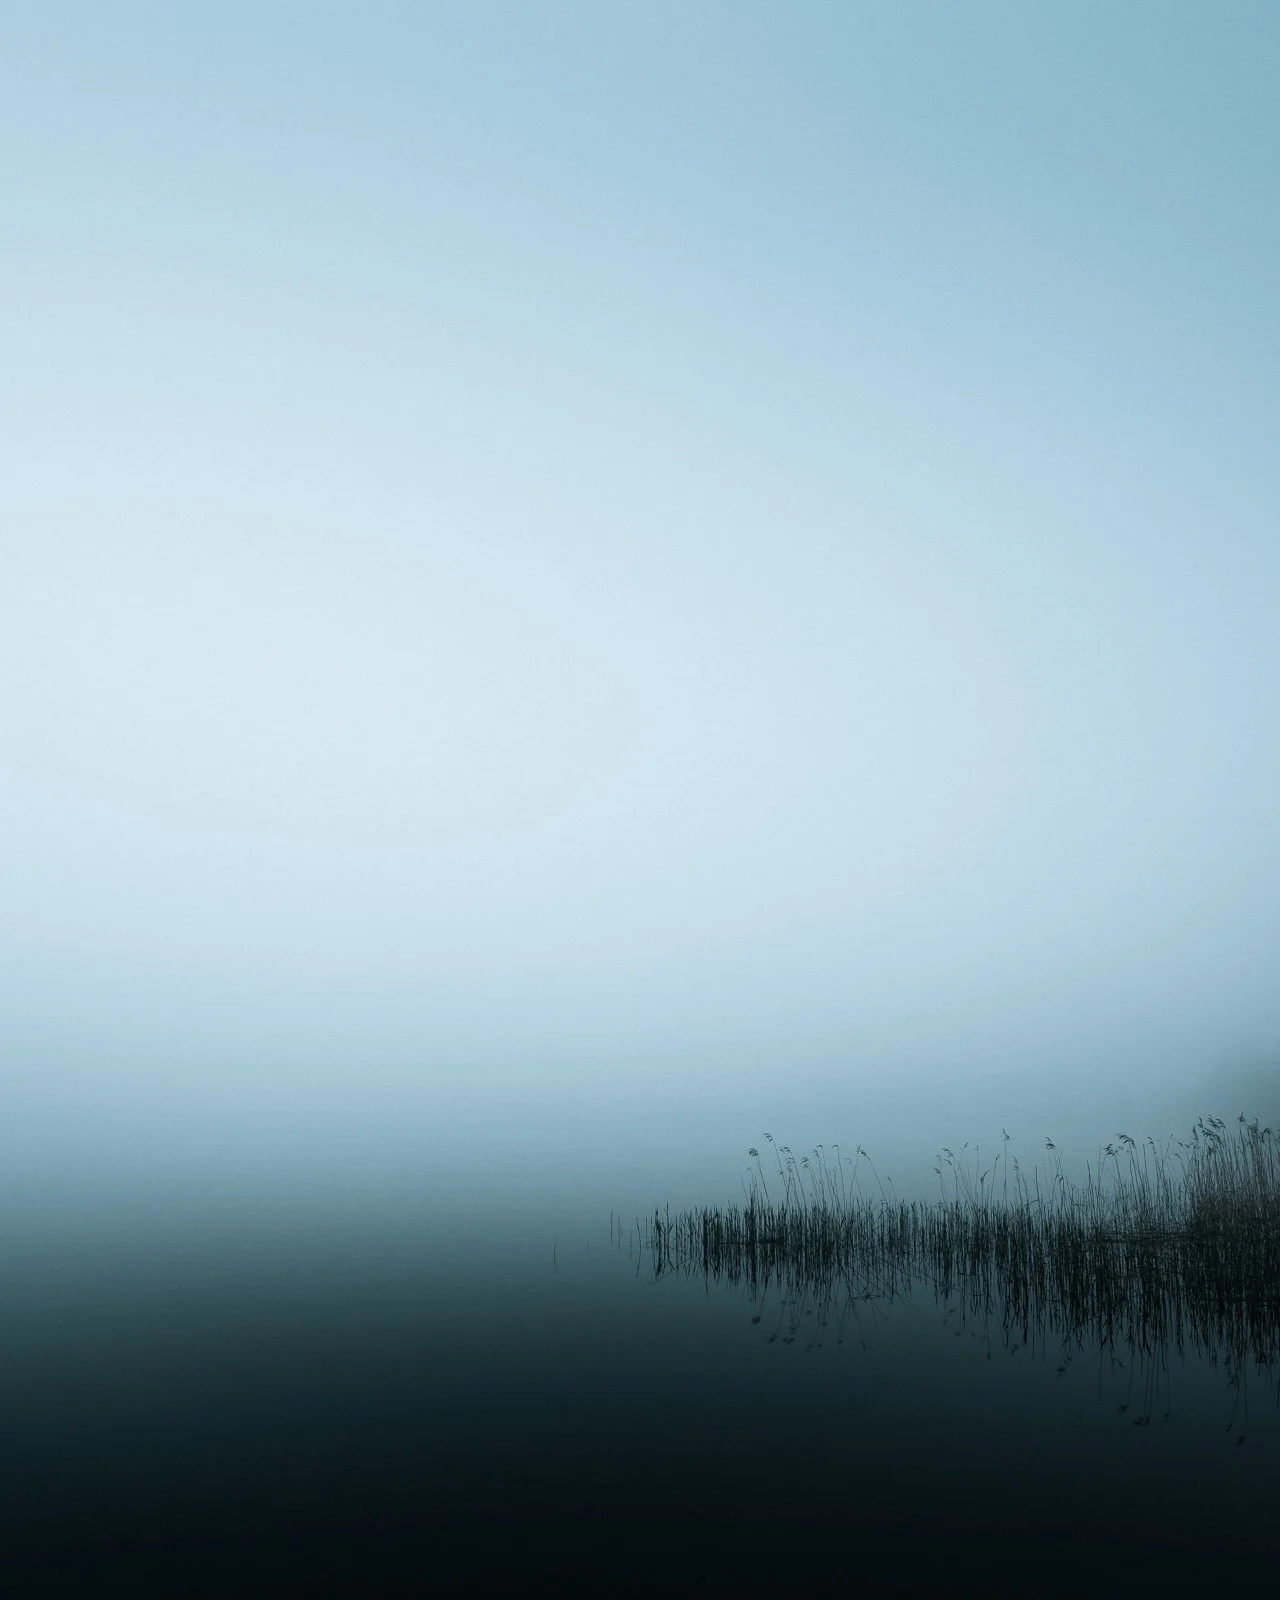
By following these steps and using a minimalistic approach to editing, it is possible to create clean, elegant, and visually appealing photographs that highlight the subject's natural beauty.
Let me know if you enjoyed this tutorial and have any additions! Until next time my fellow photographers!
EPIC PRESET COLLECTION SALE FOR A LIMITED TIME! 50% OFF!
With EPIC presets, you can easily experiment with different looks and styles without the time-consuming process of manually adjusting each setting. This allows you to find the perfect edit for your images and apply it to all your photos. Use the EPIC preset collection to create the work that inspires you! Let your photographs and moments speak for themselves. Learn more.